This website uses cookies to give you the best experience. By using this website you consent to the use of the cookies. Cookie Information

Search by brand
Product category
- ACCESSORIES FOR CAMPER-CARAVAN (15366)
- WATER AND TOILET (1261)
- VENTILATION AND WINDOWS (1469)
- KITCHEN AND REFRIGERATORS (345)
- ELECTRICITY' (1333)
- HOME APPLIANCES (43)
- OUTDOORS (2829)
- CARAVAN ACCESSORIES (174)
- ANTI-SLIP CHAINS AND SNOW (14)
- DRIVING CAB (120)
- CAR BODY (209)
- COMPLEMENTS (277)
- LOCKER (105)
- BIKE AND MOTORCYCLE RACKS (267)
- SUSPENSION AND SHOCK ABSORBERS (71)
- PARKING (63)
- ACCESSORIES FOR AWNINGS AND VERANDAS (325)
- AWNINGS AND CAMPER VERANDAS (1069)
- AWNINGS AND CARAVAN VERANDAS (135)
- LIGHTING (350)
- GAS (221)
- INTERIORS (680)
- CAMPER PACKAGE (16)
- LIQUIDS AND CHEMICALS (97)
- MAINTENANCE (21)
- MULTIMEDIA (196)
- NAVIGATION (24)
- DOORS LOCKS HINGES (502)
- SPARE PARTS (4817)
- TRANSCEIVERS AND CB (32)
- HEATING AND AIR CONDITIONING (373)
- WATER SANITIZATION (31)
- SAFETY (51)
- BLACKOUT MATS COVERING FABRICS (624)
- SEALANTS AND GLUERS (51)
- CAMPING ACCESSORIES AND OUTDOOR GARDEN (1047)
- VAN EQUIPMENT (8378)
- FIAMMA PRODUCTS (4339)
- BRUNNER PRODUCTS (317)
- SUNROAD PRODUCTS (726)
- DOMETIC NDS PRODUCTS (169)
- DOMETIC PRODUCTS (1034)
- VIESA PRODUCTS (40)
- TRUMA PRODUCTS (348)
- TELECO PRODUCTS (14)
- TELAIR PRODUCTS (26)
- TREM PRODUCTS (169)
- THETFORD PRODUCTS (444)
- FLOW PRODUCTS (51)
- ACQUADEP PRODUCTS (2)
- ACQUATRAVEL PRODUCTS (33)
- VW COLLECTION (11)
- ANIMAL LINE (56)
- SHIPPING INSURANCE (4)
- FINE SERIES AND OPPORTUNITIES (171)
- GIFT VOUCHERS (6)


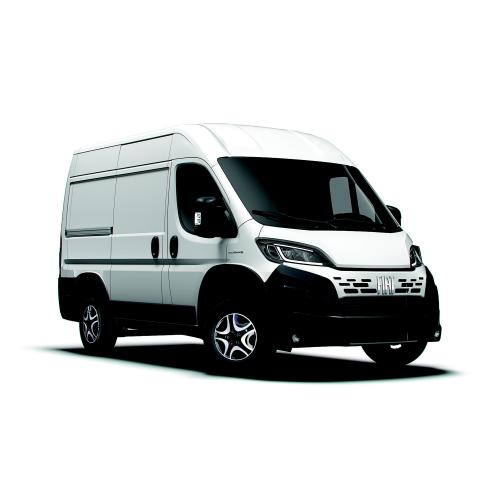
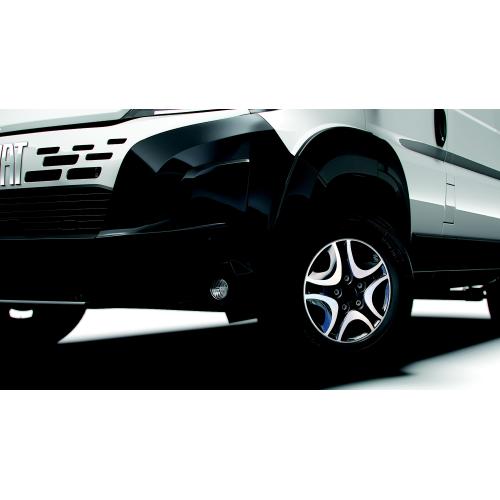
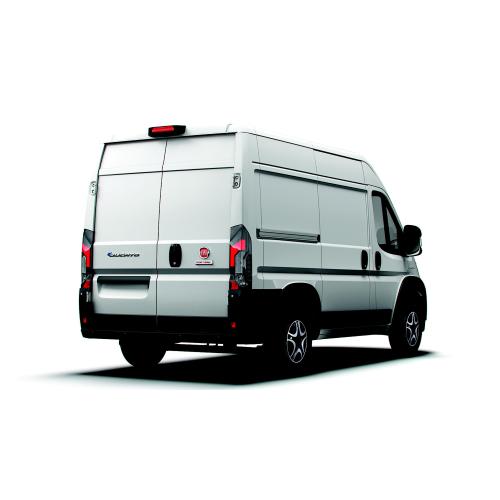
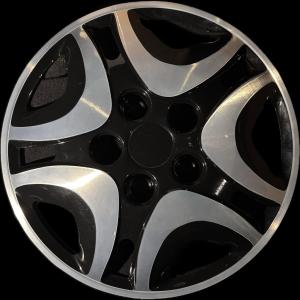
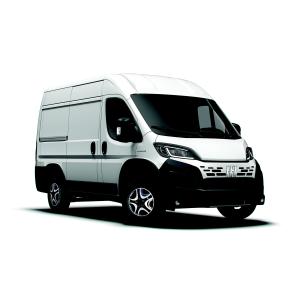
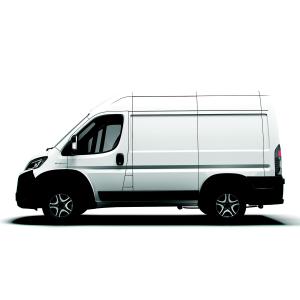
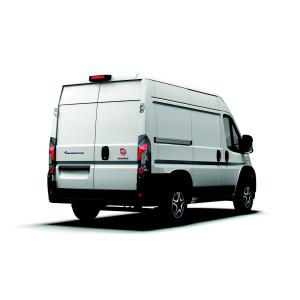
SET 4 COPRICERCHI ALLUMINIO DUCATO X250 X290 16" 7130406N


Use Mouse Wheel to Zoom In/Out
Users feedback
| Price: |
|
|---|---|
| Freight costs: | From € 11,00 VAT includedDetails |
| Item code: | 31436 |
| Brand: | BRUNNER |
| Camperisti Italiani Premium Discount : | NO |
| Affiliated Club Discount: | NO |
| Unit of measurement: | PZ |
| Availability: | Not available To be ordered from the Supplier within 10-20 days |
| Weight: | 5,000 Kg |
| Quantity: |
Installation instructions
Only use the vehicle's original bolts.
Tighten with a torque wrench to the specification in the vehicle manual.
Re-check bolt torque after ~50 km.
Step 1 Preparation
Park the vehicle on level ground, apply the handbrake, and switch off the engine.
Ensure the wheel and contact surfaces are clean.
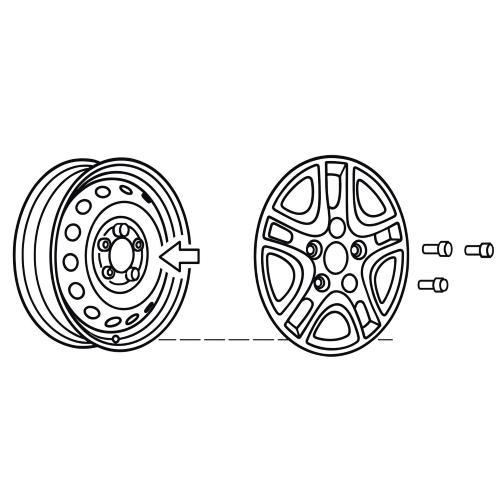
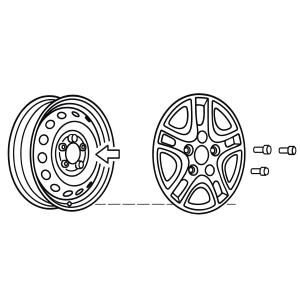
Step 2 Remove 3 Bolts
Remove two successive (adjacent) bolts and the one opposite them (total 3 bolts).
Leave the other two bolts in place. (see picture)
Step 3 Place Wheel Cover
Align the wheel cover's bolt holes with the three vacant positions on the steel so the valve also passes through the wheel cover's openings.
Seat the cover flat on the steel wheel.
Step 4 Hand-tighten 3 Bolts
Insert the three removed bolts through the wheel cover into the steel wheel and hand-tighten until the cover sits centered on the steel wheel.
Use a star/alternate pattern across the wheel for even seating.
Step 5 Torque
Tighten those three bolts with a torque wrench, following an alternating pattern, to the manufacturer's specification.
(Optionally verify that the two untouched bolts also meet specification.)
After approx. 50 km, re-check torque and retighten if necessary.
Safety Notes
Do not use impact guns directly on the cover.
Do not fit damaged covers.
Always follow the vehicle manufacturer's torque specifications.
Only use the vehicle's original bolts.
Tighten with a torque wrench to the specification in the vehicle manual.
Re-check bolt torque after ~50 km.
Step 1 Preparation
Park the vehicle on level ground, apply the handbrake, and switch off the engine.
Ensure the wheel and contact surfaces are clean.
Step 2 Remove 3 Bolts
Remove two successive (adjacent) bolts and the one opposite them (total 3 bolts).
Leave the other two bolts in place. (see picture)
Step 3 Place Wheel Cover
Align the wheel cover's bolt holes with the three vacant positions on the steel so the valve also passes through the wheel cover's openings.
Seat the cover flat on the steel wheel.
Step 4 Hand-tighten 3 Bolts
Insert the three removed bolts through the wheel cover into the steel wheel and hand-tighten until the cover sits centered on the steel wheel.
Use a star/alternate pattern across the wheel for even seating.
Step 5 Torque
Tighten those three bolts with a torque wrench, following an alternating pattern, to the manufacturer's specification.
(Optionally verify that the two untouched bolts also meet specification.)
After approx. 50 km, re-check torque and retighten if necessary.
Safety Notes
Do not use impact guns directly on the cover.
Do not fit damaged covers.
Always follow the vehicle manufacturer's torque specifications.
Request informationWho We AreContacts and HoursPaymentsShippingWithdrawal and ConditionsPrivacy Disclaimer
 Segui @CampingLifeit
Feedback
- 12.05.2026
Order delivered on time with no issues
- 12.05.2026
Order delivered on time with no issues
- 12.05.2026
Order delivered on time with no issues
- 11.05.2026
AAAAA++++++
- 11.05.2026
Order delivered on time with no issues
